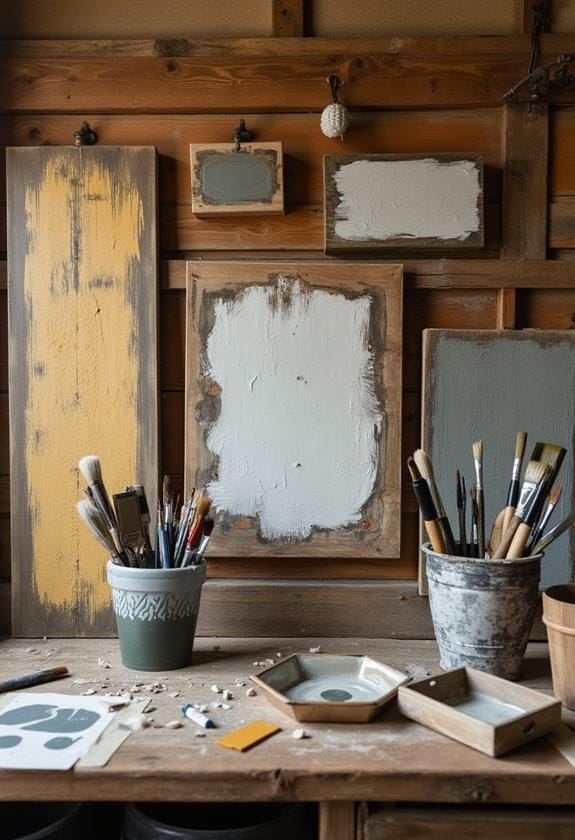
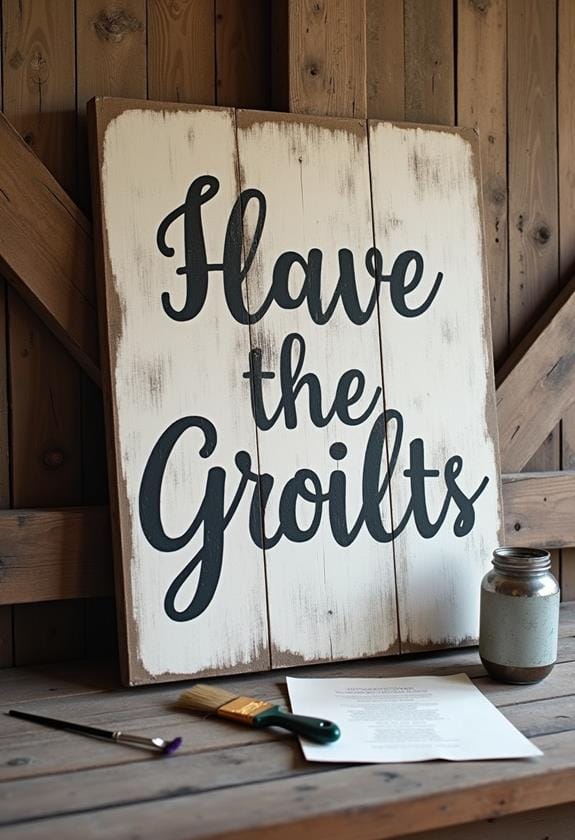
Ready to give your plain wooden signs some rustic charm? You've got five easy techniques to choose from! Try distressing with chalk paint for that vintage vibe, or go for a stencil and stain method to add intricate designs. Want a shabby-chic look? The weathered whitewash effect is perfect. For a truly vintage feel, transfer printed images onto wood. And if you're feeling adventurous, grab a wood burner to create cozy cabin-style signs. Each technique brings its own unique character to your decor. Whether you're aiming for farmhouse chic or a touch of nostalgia, these methods will transform your space. Curious about which one suits your style best?
Design Highlights
- Distressed chalk paint creates a vintage look by sanding edges and corners after painting wooden surfaces.
- Stenciling with wood stain offers intricate designs while maintaining a natural wood finish.
- Whitewashing with diluted white paint achieves a shabby-chic effect, allowing wood grain to show through.
- Vintage image transfers using Mod Podge create personalized, old-timey signs with rustic charm.
- Wood burning techniques produce cozy, cabin-style signs with custom designs burned directly into the wood.
Distressed Chalk Paint Technique

The distressed chalk paint technique's charm lies in its ability to create a vintage, worn look on wooden surfaces. It's perfect for that rustic farmhouse vibe you've been dreaming of. This technique can also be used to elevate your decor during the fall season, adding a cozy touch to your living space. Ready to give it a try? First, grab some chalk paint in your favorite hue. I'm partial to a soft blue, but you do you! Apply a thin coat and let it dry. Now comes the fun part – distressing. Grab some sandpaper and start gently rubbing away at edges and corners. Don't go overboard; less is more here. Want to add some extra character? Try using a cheese grater for unique textures. Once you're happy with the distressing, seal it with a clear wax. And voilà! You've got yourself a piece that looks like it's been around for generations. Impressed? Just wait till you try the other techniques!
Stencil and Stain Method
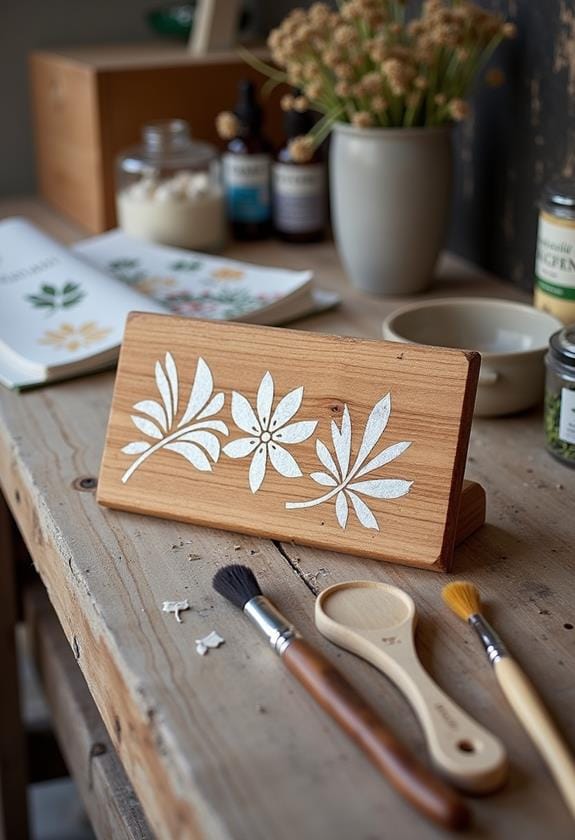
Combining artistry with precision, the stencil and stain method offers a unique way to add intricate designs to your wooden decor. You'll love how this technique lets you create professional-looking patterns without being a master painter. First, choose a stencil that speaks to you – maybe a delicate floral design or a bold geometric pattern. Secure it to your wood piece with painter's tape. Now, here's where the magic happens: Instead of paint, you'll use wood stain! Apply it gently with a foam brush, dabbing lightly to avoid seepage under the stencil. The result? A beautifully contrasted design that showcases the wood's natural grain. And the best part? You can customize the look by choosing lighter or darker stains. Feeling adventurous? Try layering stencils for a multi-dimensional effect. Trust me, your friends will be begging for your secret!
Weathered Whitewash Effect
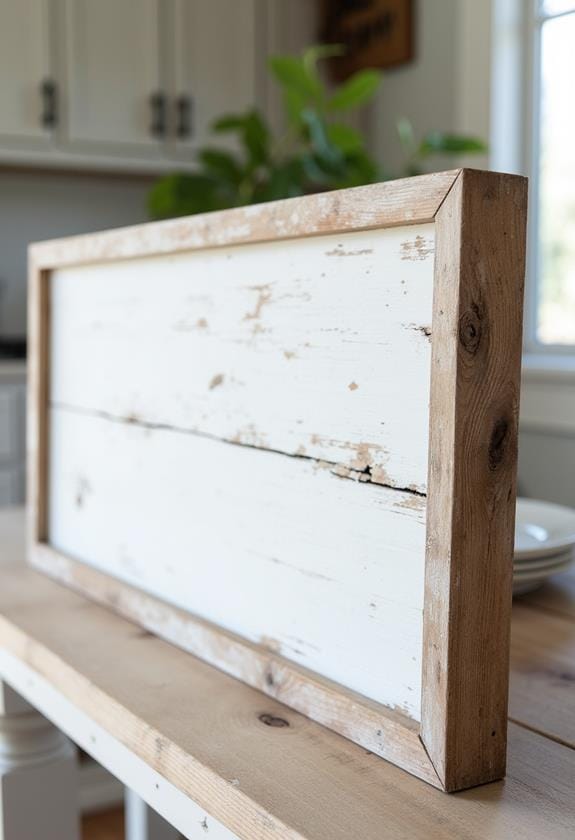
For those seeking a rustic charm, the weathered whitewash effect can transform plain wood into a shabby-chic masterpiece. It's surprisingly easy to achieve, too! You'll need white paint, water, and a bit of sandpaper. Mix one part paint with one part water, then brush it onto your wood. The key? Don't aim for perfection. Let some of the wood grain peek through. This technique is perfect for creating primitive Christmas decor that adds warmth and character to your holiday home.
Once it's dry, grab that sandpaper and start distressing. Focus on edges and corners where natural wear occurs. Remember when you accidentally scuffed your dining table? Aim for that look, but intentional. And here's a pro tip: add a touch of gray or brown to your whitewash for an extra aged appearance. You'll swear your sign's been hanging in a cozy farmhouse for decades!
Vintage Transfer Approach
Transforming ordinary wood into vintage-inspired art is a breeze with the vintage transfer approach. You'll love how this technique adds instant character to your DIY projects. Ever dreamed of having those charming old-timey signs? Now you can make them yourself!
Here's what you'll need:
- Laser-printed image (reversed)
- Mod Podge or gel medium
- Foam brush
- Credit card or scraper
- Damp cloth
Simply apply the medium, press your image face-down, and let it dry overnight. The magic happens when you dampen and gently rub off the paper, revealing your transferred design underneath. It's like peeling back layers of time! And don't worry if it's not perfect – those little imperfections add to the rustic charm. Ready to give it a go?
Rustic Burned Wood Signs
Fire enthusiasts, get ready to add some sizzle to your DIY projects with rustic burned wood signs. This technique is perfect for creating that cozy cabin feel or adding a touch of wilderness to your space. You'll need a wood burner tool, some scrap wood, and a steady hand. But don't worry if you're not an artist – imperfections add character!
Start by sketching your design lightly in pencil. Then, plug in your wood burner and let it heat up. Slowly trace your design, pressing harder for darker lines. Remember to take breaks; the smell of burning wood can be intense! For a weathered look, sand the edges after burning. And here's a pro tip: try burning pinecones or leaves for unique textures. Feeling adventurous? Mix in some paint for a pop of color.
Frequently Asked Questions
What Tools Are Essential for Beginners in Rustic Sign Painting?
Ready to plunge into rustic sign painting? You'll need some basics to get started. Grab yourself some wood (reclaimed is perfect!), sandpaper, and a sturdy brush or two. Don't forget paint – acrylic works wonders. A stencil set can be a lifesaver if you're not confident in your freehand skills. Oh, and a sealer to protect your masterpiece. Feeling fancy? Toss in some decorative elements like twine or vintage hardware. Now, let's make some magic happen!
How Long Does It Typically Take to Complete a Rustic Wooden Sign?
You'd think whipping up a rustic wooden sign would be as quick as microwaving popcorn, right? Well, not quite! The time it takes can vary wildly. For a beginner, you might spend a few hours on a simple design. But as you get the hang of it, you'll speed up. Some folks can knock out a basic sign in an hour, while intricate designs might take a whole weekend. It's all about practice and your creative vision!
Can Rustic Sign Painting Techniques Be Applied to Materials Other Than Wood?
Rustic sign painting isn't just for wood. You can get creative with all sorts of materials. Try metal for an industrial vibe, or canvas for a softer look. Ever thought about painting on old window panes? It's a charming way to upcycle. And don't forget about concrete or terra cotta planters – they're perfect for adding a rustic touch to your garden. The possibilities are endless! What unusual surface have you been itching to try your hand at?
Are There Any Safety Precautions to Consider When Creating Rustic Wooden Signs?
Did you know that 40% of DIY-related injuries involve hands and fingers? Yikes! When creating rustic wooden signs, you've got to play it safe. Always wear safety goggles to protect your eyes from flying wood chips. And don't forget those work gloves! They're your best friends when handling rough wood or sharp tools. Oh, and ventilation is key – nobody wants to breathe in sawdust or paint fumes. Remember, a safe crafter is a happy crafter. Ready to make some gorgeous signs?
How Can I Protect and Preserve My Rustic Wooden Signs for Outdoor Use?
You'll want to shield your outdoor rustic signs from the elements. Start by sealing the wood with a clear, waterproof sealant. It's like giving your sign a raincoat! Apply a few coats, letting each dry thoroughly. For extra protection, consider a UV-resistant varnish to prevent fading. And don't forget about the hardware – use rust-resistant screws or hooks. Finally, give your signs a little TLC now and then. A quick wipe-down and touch-up can keep them looking charming for years.