Ready to create a stunning Easter cake? Start by choosing a theme that reflects your style – whether it's traditional bunnies or modern geometrics. Gather essential tools like piping bags and a turntable, then whip up a moist, flavorful base. Master icing techniques like smooth buttercream or playful grass piping. Add Easter-inspired elements such as fondant chicks or edible flowers. Don't forget to personalize with family initials or favorite spring colors. Struggling with decorations? Practice piping and adjust food coloring gradually for perfect shades. With these tips, you'll craft a cake that's not just delicious but a true showstopper. Curious about more advanced techniques? There's a whole world of Easter cake magic waiting to be explored!
Design Highlights
- Choose a theme that balances tradition and personal style, considering family preferences and practical aspects of cake design.
- Gather essential tools and ingredients, including quality cake mix, decorating supplies, and food coloring for festive pastel shades.
- Prepare a sturdy and flavorful cake base, using room temperature ingredients and allowing ample cooling time before decorating.
- Master key icing techniques like smooth buttercream, rosettes, basketweave, and grass piping to enhance the cake's appearance.
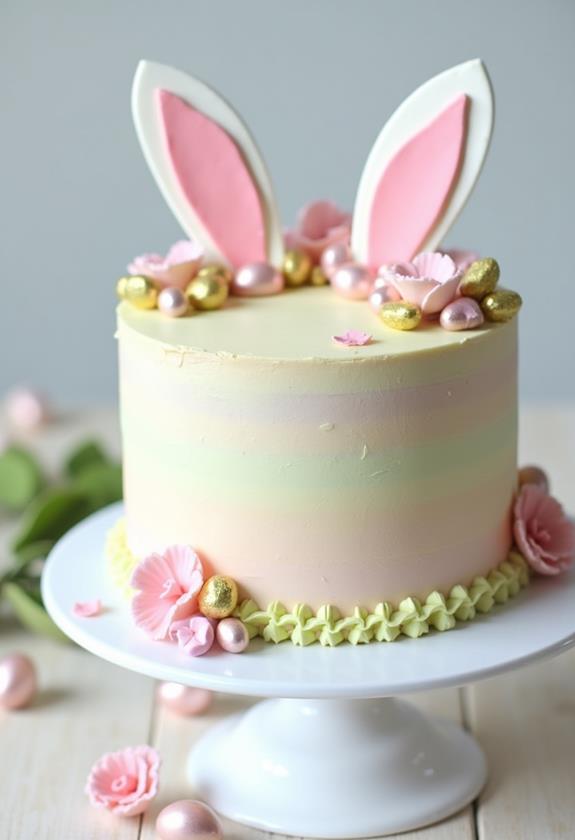
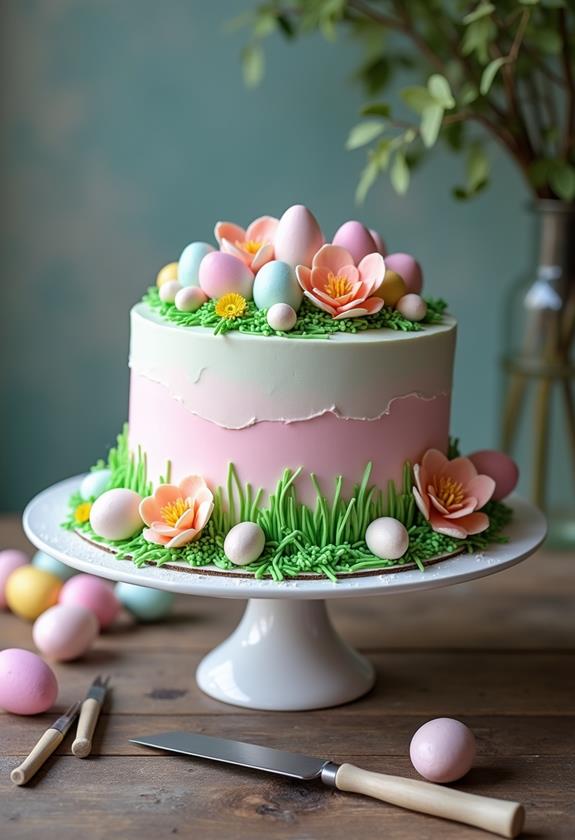
- Create Easter-inspired decorative elements such as fondant bunnies, edible grass, sugar paste flowers, and mini chocolate eggs.
Choosing Your Easter Cake Theme
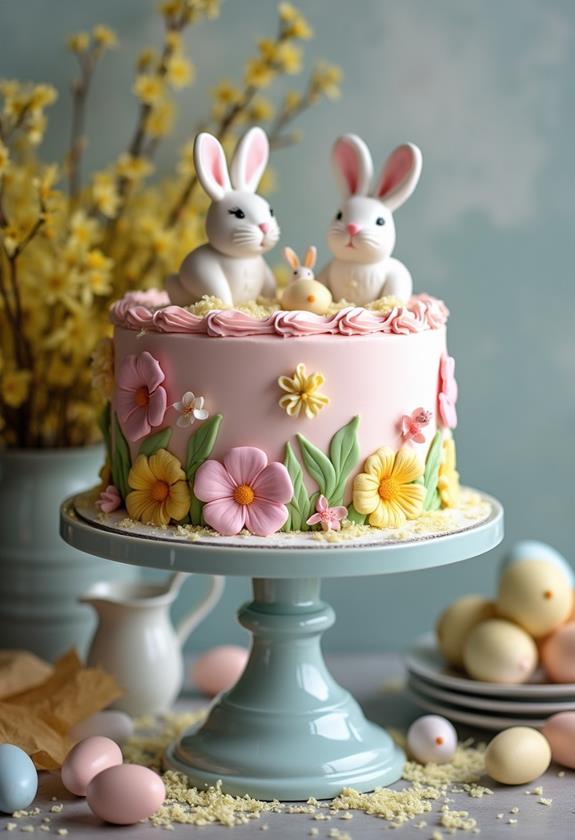
When it comes to choosing your Easter cake theme, you'll want to contemplate both traditional and modern options. Are you leaning towards adorable bunnies and pastel eggs, or something more contemporary like a geometric design with pops of spring colors? Consider delightful Easter cake decor to add that extra special touch to your creation. With a wide variety of options available, you're sure to find something that perfectly matches your vision.
Think about your family's preferences too. Maybe your kids are obsessed with chicks this year, or grandma always expects to see those classic lilies. And don't forget practical considerations! A towering rabbit might look impressive, but can you transport it safely?
I once attempted a three-tier "garden party" cake, complete with fondant flowers and a chocolate fence. It was stunning… until it toppled in the car. Lesson learned: sometimes simpler is better! Whatever theme you choose, make sure it brings a smile to your face and captures the spirit of the season.
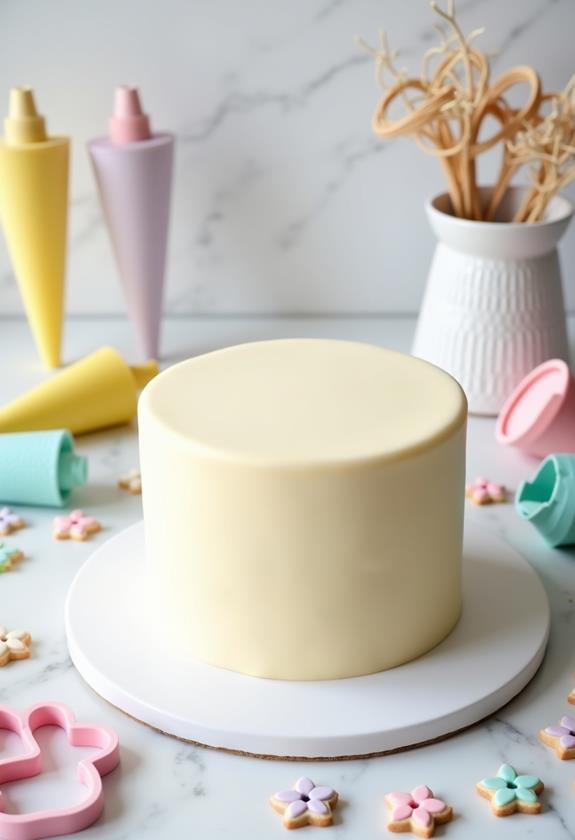
Essential Tools and Ingredients
Often, the success of your Easter cake decoration hinges on having the right tools and ingredients at your disposal. You'll want to start with the basics: a good quality cake mix or your favorite recipe, and a sturdy cake pan. Don't forget your mixing bowls and spatulas! For a festive touch, consider incorporating charming Easter bunny elements into your cake design.
For decorating, you'll need a few key items. Grab some piping bags and tips for intricate designs, and a turntable to make frosting a breeze. Ever tried smoothing icing with a bench scraper? It's a game-changer! And let's not forget food coloring – pastel shades are perfect for Easter.
As for ingredients, stock up on powdered sugar, butter, and vanilla extract for your frosting. Feeling adventurous? Try fondant for a polished look. Remember, the right tools can transform your cake from ho-hum to "wow!"
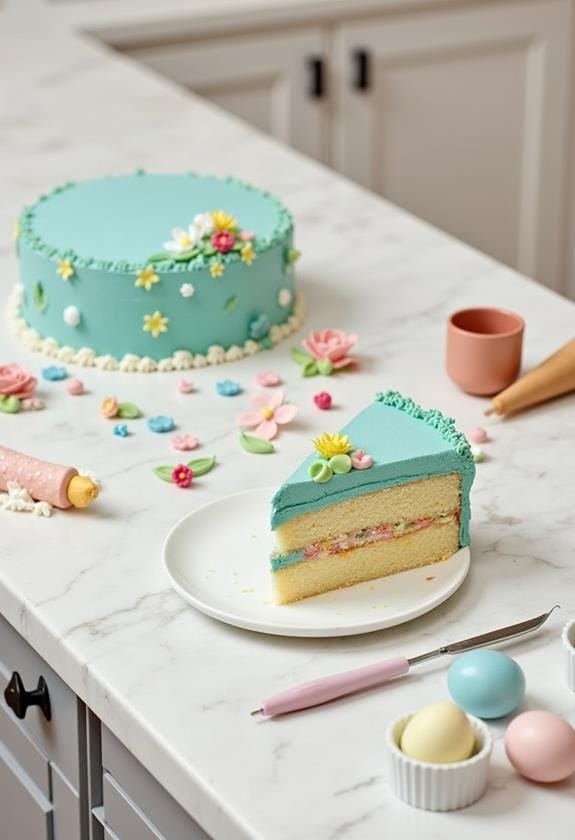
Preparing the Perfect Cake Base
The foundation of any great Easter cake lies in preparing the perfect cake base. You'll want to start with a recipe that's moist and flavorful, but sturdy enough to hold up under decorations. Have you ever tried a lemon-vanilla sponge? It's divine for spring!
Mix your batter carefully, folding in ingredients to keep it light and airy. And here's a pro tip: use room temperature eggs and butter. Trust me, it makes a world of difference!
Once your batter's ready, evenly distribute it in your pans. A gentle tap on the counter will help remove air bubbles. While it's baking, resist the urge to peek! Opening the oven can cause your cake to sink faster than your hopes for a clean kitchen. When it's done, let it cool completely before decorating. Patience is key!
Mastering Icing Techniques
Now that your cake base is ready, it's time to elevate your creation with some impressive icing techniques. Let's plunge into the sweet world of frosting, shall we? Grab your piping bags and spatulas, because we're about to transform that plain cake into an Easter masterpiece!
Here are four go-to icing techniques to make your cake pop:
- Smooth buttercream: The classic canvas for any design
- Rosettes: Delicate swirls that add a touch of elegance
- Basketweave: Perfect for creating that Easter basket look
- Grass tip piping: Ideal for adorable bunny scenes
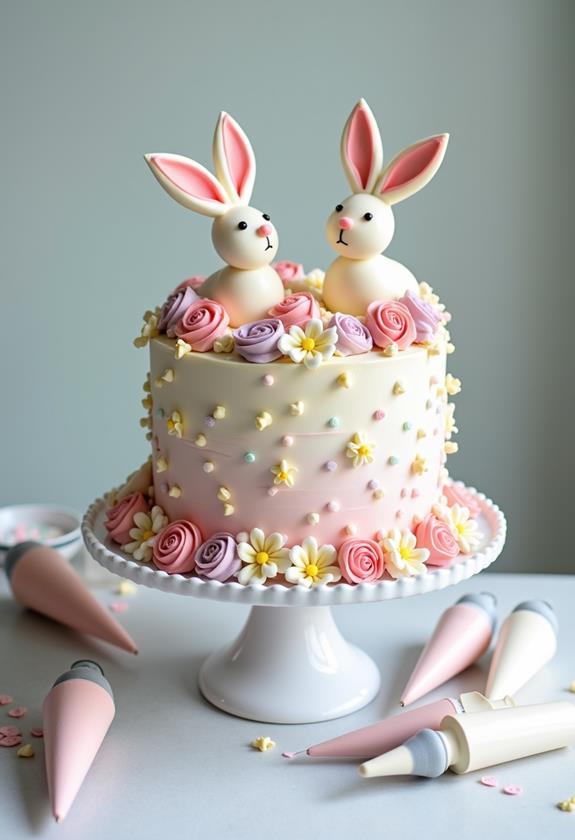
Creating Easter-Inspired Decorative Elements
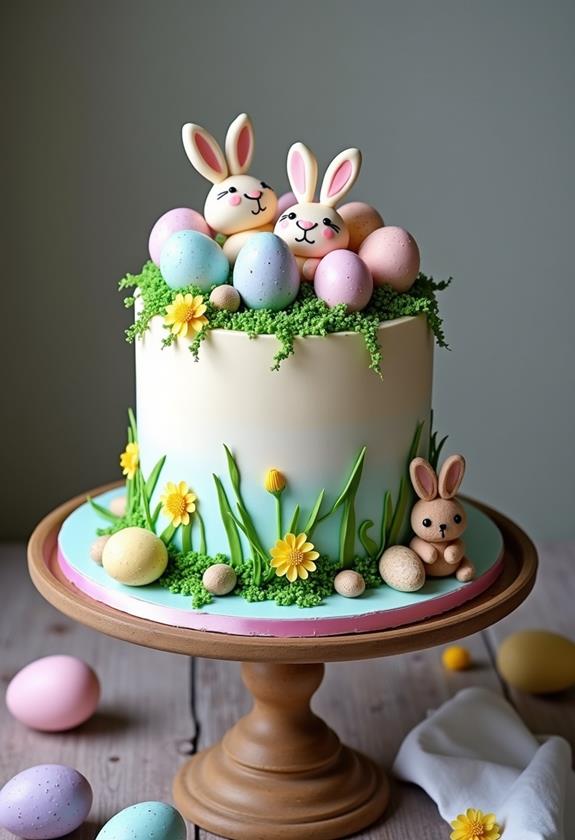
With your icing techniques mastered, it's time to plunge into creating Easter-inspired decorative elements. Let's start with the classics: adorable bunnies and chicks. You can mold these cuties from fondant or pipe them with buttercream. Ever tried making edible grass? It's easier than you think! Just use shredded coconut tinted with green food coloring. For a magical touch, consider adding Easter lantern decor to your cake display, creating a warm and inviting atmosphere.
How about some springtime flowers? Pastel-colored sugar paste daisies or tulips will make your cake bloom. And don't forget those iconic Easter eggs! You can craft mini ones from chocolate or royal icing. For a whimsical touch, why not add some carrot-shaped decorations? They're perfect for that "bunny's favorite snack" vibe.
Personalizing Your Cake Design

Occasionally, the most memorable Easter cakes are those that reflect your unique style and personality. Why not infuse your creation with elements that are truly you? Start by considering your favorite Easter memories or family traditions. Maybe you've got a cherished heirloom that could inspire your design?
To personalize your cake, try:
- Incorporating your family's initials or names in fondant
- Using your favorite spring colors in the frosting
- Adding edible photos of past Easter celebrations
- Recreating a beloved childhood Easter toy in sugar paste
Troubleshooting Common Decorating Challenges
While personalizing your Easter cake can be exciting, you might encounter some challenges along the way. Ever tried piping intricate designs only to end up with a wobbly mess? We've all been there! Don't fret – practice makes perfect. And those pesky air bubbles in your fondant? Try kneading it longer or letting it rest before use. Struggling with food coloring intensity? Start with a tiny drop and build up gradually. You'd be surprised how far a little goes!
Got a lopsided cake? No worries! A bit of strategic trimming and some extra frosting can work wonders. And if your decorations just won't stick? A dab of corn syrup or melted chocolate can be your secret weapon. Remember, even pro bakers face hurdles. The key? Keep calm and keep decorating!
Frequently Asked Questions
How Long Can an Easter Cake Be Stored Before Serving?
You know, storing an Easter cake can be a bit tricky. Generally, you'll want to serve it within 2-3 days for the best taste and texture. If it's frosted, keep it in the fridge, but bring it to room temp before serving – nobody likes a cold, hard slice! For unfrosted cakes, you can leave them out at room temperature, covered, for up to 5 days. Just remember, the fresher, the better! Why not bake it the day before your celebration?
Are There Any Allergy-Friendly Alternatives for Common Easter Cake Ingredients?
Imagine this: a mouthwatering Easter cake that everyone can enjoy! You'd be surprised how many allergy-friendly alternatives are out there. For eggs, try applesauce or mashed bananas. Need to skip dairy? Coconut milk's your friend. Gluten-free? Almond or coconut flour works wonders. And for those nut allergies, sunflower seed butter's a great swap. Don't forget about natural food coloring options like beet juice or turmeric. With these swaps, you'll create a cake that's safe and scrumptious for all your guests!
Can I Make Easter Cake Decorations in Advance?
You can get a head start on your Easter cake decorations. Fondant shapes, sugar flowers, and royal icing designs can be made days or even weeks in advance. Just store them in an airtight container in a cool, dry place. Marzipan figures? They'll keep for months! But remember, some decorations like buttercream flowers are best made closer to the time. Isn't it great to spread out the workload? You'll thank yourself when Easter rolls around and you're not scrambling at the last minute.
What's the Best Way to Transport a Decorated Easter Cake?
You won't believe it, but just as you're ready to transport your Easter masterpiece, the perfect solution appears! For a safe journey, grab a cake carrier or a sturdy box with a flat bottom. Line it with non-slip material. Feeling crafty? Make a DIY "cake board" from cardboard wrapped in foil. Chill the cake before travel, and don't forget to secure it in your car. Oh, and watch those turns! Your beautifully decorated Easter cake will arrive intact and ready to impress.
How Do I Adjust Cake Recipes for High-Altitude Baking?
Hey there, high-altitude baker! Adjusting your recipes can be tricky, but don't worry. You'll want to decrease sugar and leavening agents slightly, and increase liquids and flour. For every 1,000 feet above 3,000, reduce sugar by 1 tablespoon and baking powder by 1/8 teaspoon. Add an extra tablespoon of liquid and 1-2 tablespoons of flour. And here's a pro tip: raise your oven temperature by 25°F. It might take some trial and error, but you'll be a mountain-top baking pro in no time!