Looking to spruce up your walls with unique, eco-friendly art? Try these seven upcycled scrap material ideas! Transform old wooden pallets into rustic frames or shelves. Create vibrant mosaics using colorful bottle caps. Give new life to broken guitars by turning them into wall-hanging masterpieces. Weave discarded fabric scraps into textured tapestries. Embrace a beach theme with driftwood arrangements. Repurpose metal scraps with a splash of spray paint for an industrial vibe. And don't forget about those old picture frames – fill them with an assortment of small trinkets for a personalized touch. Ready to roll up your sleeves and get creative? There's so much more to explore in the world of upcycled wall art!
Design Highlights
- Transform old wooden pallets into rustic frames or shelves for a charming, repurposed wall display.
- Create vibrant mosaic pieces using colorful bottle caps, adding texture and visual interest to your walls.
- Repurpose discarded fabric scraps by weaving them into unique, textured tapestries for an eco-friendly art piece.
- Turn everyday objects like broken guitars or old vinyl records into eye-catching wall sculptures.
- Craft a beach-themed wall art using driftwood, seashells, and other found coastal materials for a natural aesthetic.
Selecting Suitable Scrap Materials
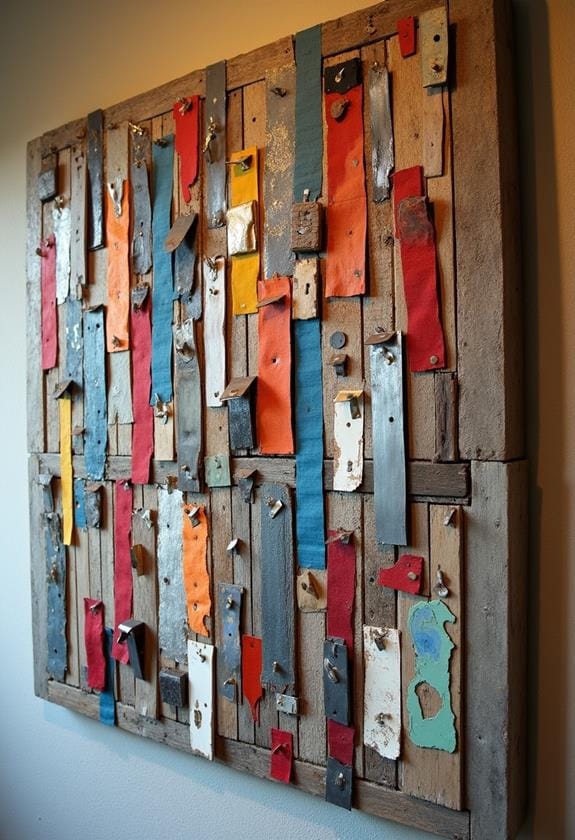
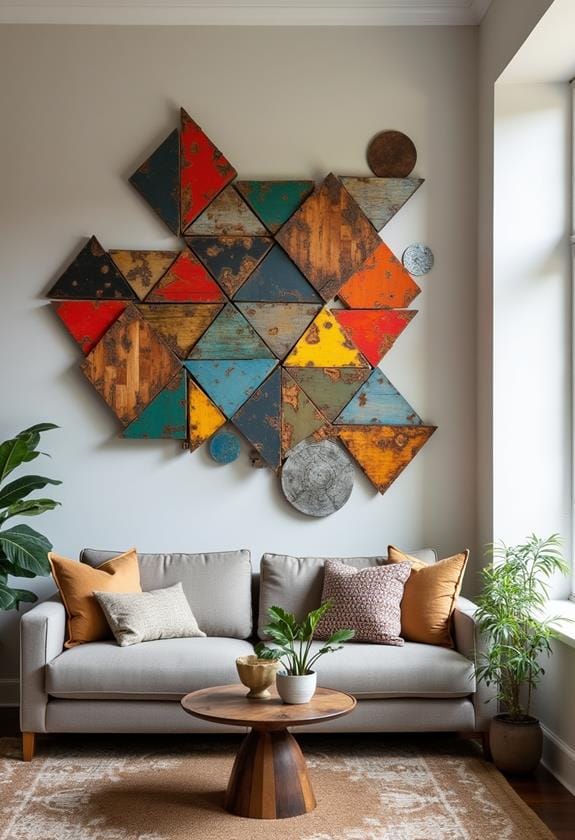
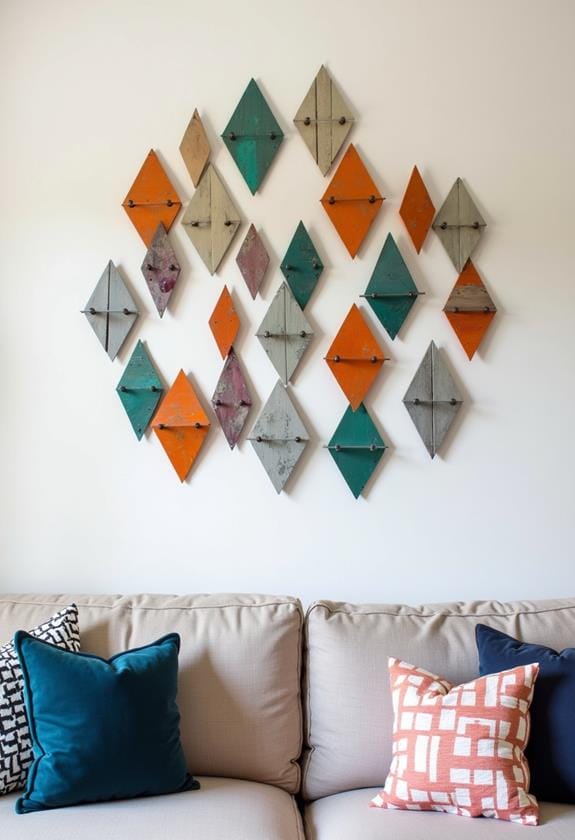
When creating upcycled wall art, material selection is essential. You'll want to look for items that catch your eye and spark your creativity. Old wooden pallets, for instance, can be transformed into rustic frames or shelves. And those colorful bottle caps you've been saving? They're perfect for a vibrant mosaic piece! For a modern twist, consider incorporating geometric wall patterns using scrap materials to add visual interest and depth to your creations.
Don't overlook the potential in everyday objects. Remember that broken guitar collecting dust in your attic? Its strings could become an abstract masterpiece. Even discarded fabric scraps can be woven into a textured tapestry.
But here's the trick: choose materials that complement your existing décor. If you're going for a beachy vibe, driftwood and seashells are your best friends. Urban chic more your style? Scour construction sites for bits of metal or wire. The possibilities are endless – what treasures will you uncover?
Products Worth Considering

Design Concept Delivery: the special texture of wood with starfish and seashells, collision belongs to the nature's simple atmosphere, soothing mood

Package Includes: you will receive a seashell shaped Wooden Coat Rack for bikinis, a cute design and Ideal size for hanging bikinis; It can also be applied as a summer ocean themed wall decoration, bringing you a fresh visual treat
Preparing Materials for Upcycling
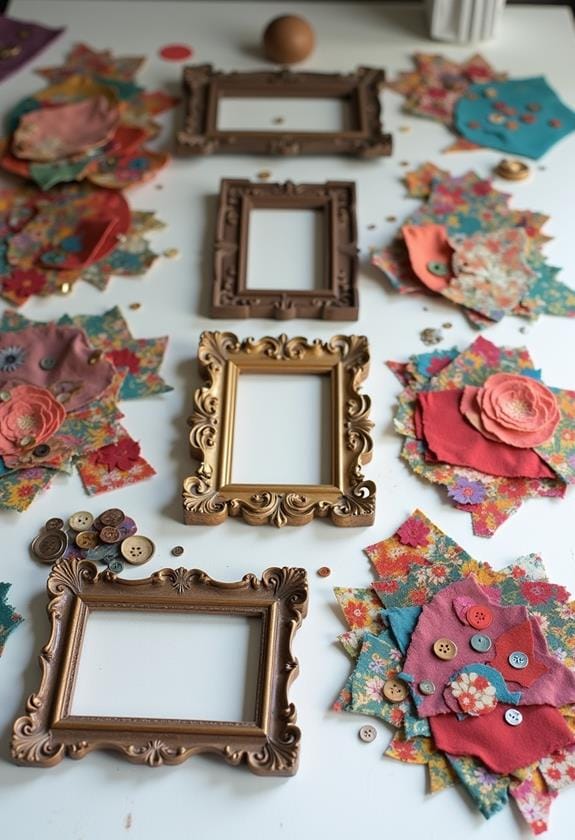
Before diving into your upcycling project, you'll often need to prepare your scrap materials. Got a pile of old wood planks? Great! But don't just slap them on your wall. Take a moment to clean, sand, and maybe even treat them first. Trust me, your future self will thank you for the extra effort.
Here are three key steps to prep your materials:
- Clean thoroughly, removing any dirt, dust, or grime
- Sand rough edges for safety and a smoother finish
- Apply protective coatings if needed, like varnish or sealant
Creative Design Concepts
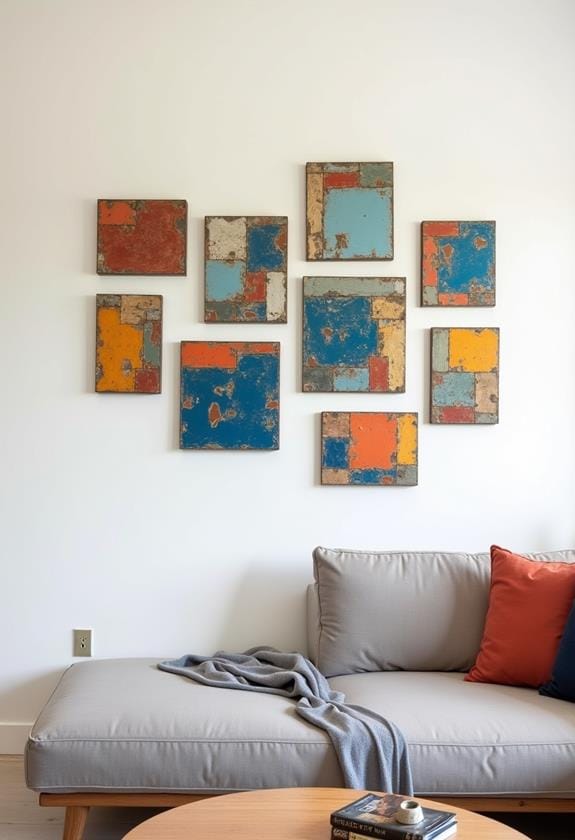
Now that your materials are prepped and ready, it's time to let your creativity shine. Think about the overall vibe you're going for. Rustic farmhouse? Modern minimalist? Eclectic boho? Your design should reflect your personal style.
Consider creating a focal point with larger pieces, then filling in with smaller elements. Maybe that old window frame becomes the centerpiece, surrounded by bottle cap flowers. Or how about a geometric pattern using colorful fabric scraps?
Don't be afraid to mix textures and materials. Smooth glass, rough wood, and soft textiles can create an interesting visual contrast. And remember, asymmetry can be your friend. Who says everything needs to be perfectly aligned?
As you play with layouts, step back often to see the big picture. You might be surprised how moving one piece can change the entire look!
Assembly Techniques and Tools
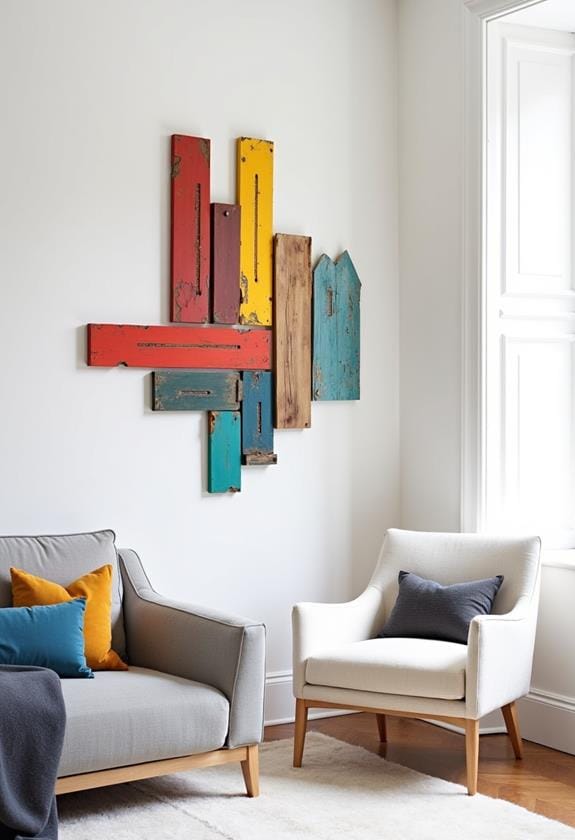
The assembly process is where your wall art vision comes to life. You'll need some basic tools to get started, but don't worry if you're not a DIY pro. A hammer, screwdriver, and glue gun are usually enough for most projects. And hey, who doesn't love an excuse to buy new tools?
When it comes to putting your masterpiece together, here are three key techniques to keep in mind:
- Layering: Stack materials for depth and texture
- Framing: Create a border to tie elements together
- Suspension: Use wire or hooks for easy hanging
Products Worth Considering

【Fast Heating】This mini hot glue gun heats up and releases glue within 1-3 minutes, fits φ0.27inch(7mm) glue sticks(Please note that the size of the hot glue gun and sticks set is small, please confirm the size of the glue gun and glue stick before purchasing).

Fast Preheating - 20w glue gun features a fast 1 minutes warm up time; Infused with a PTC ceramic heating system, mini hot glue gun heats up and releases glue within 1-2 minutes and then keep the temperature constant automatically
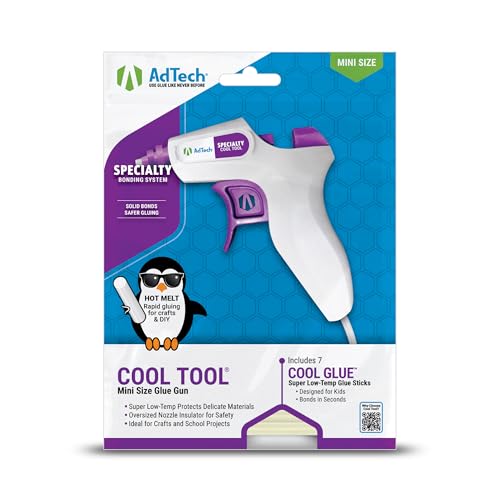
Kid-Friendly Design: Specifically engineered for young crafters, this Cool Tool Kit features a glue gun that's sized and styled with students, campers, and kids in mind, making it perfect for fun projects at home or camp.
Adding Finishing Touches
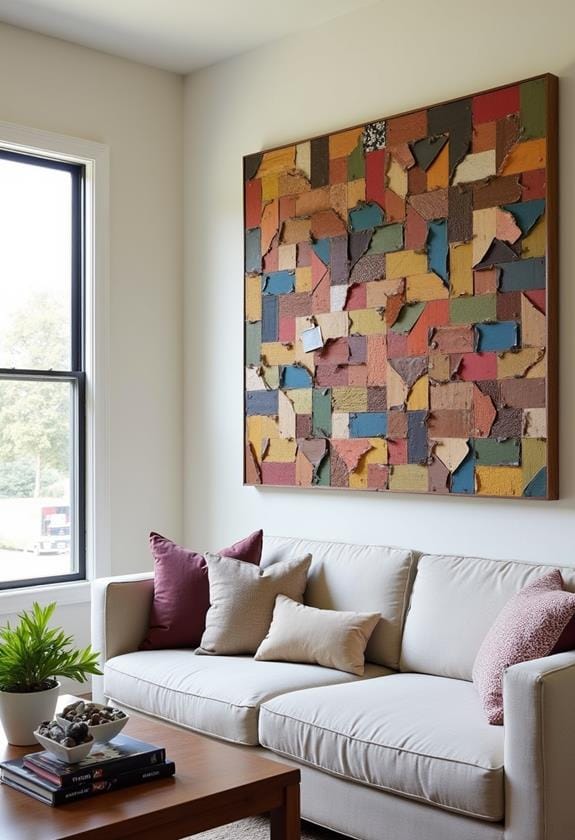
With your wall art assembled, it's time to add those final touches that'll make your piece truly shine. Ever thought about a splash of color? A light coat of spray paint can transform those metal scraps into a cohesive masterpiece. Or why not embrace the rustic charm and seal it with a clear varnish?
Don't forget texture! You could weave twine between elements or hot-glue small beads for a 3D effect. And lighting? Oh, it's a game-changer. Attach battery-operated LED strips behind your creation for a magical glow.
Display and Mounting Options
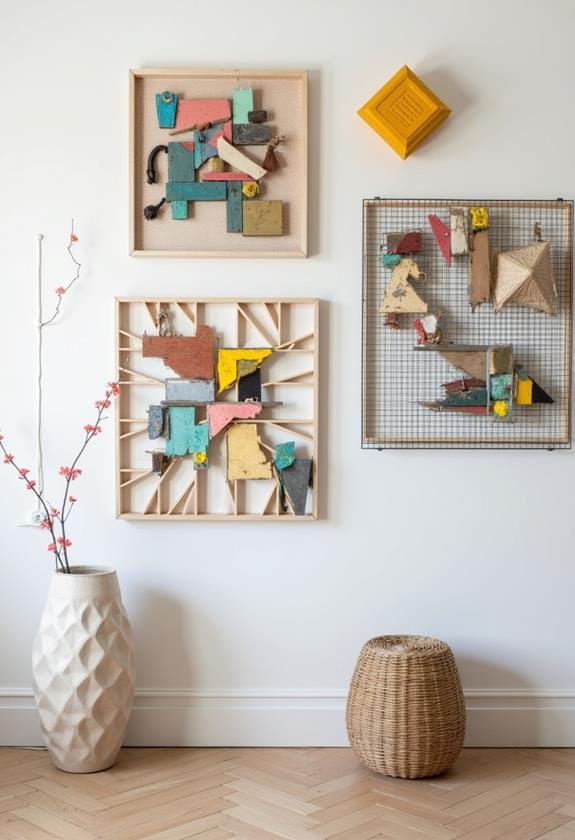
Contemplate the unique nature of your upcycled wall art, you'll want to choose a display method that complements its style. Think about the weight, shape, and overall vibe of your piece. Is it a delicate paper collage or a hefty metal sculpture? Your mounting choice can make or break the final look.
Here are three popular options to evaluate:
- Floating shelves: Perfect for 3D pieces or framed works
- Picture rails: Ideal for frequently changing displays
- Command strips: Great for lightweight, oddly-shaped items
Products Worth Considering

𝐌𝐨𝐝𝐞𝐫𝐧 & 𝐕𝐞𝐫𝐬𝐚𝐭𝐢𝐥𝐞 𝐒𝐭𝐲𝐥𝐞: The 𝐡𝐢𝐝𝐝𝐞𝐧 𝐛𝐫𝐚𝐜𝐤𝐞𝐭 𝐝𝐞𝐬𝐢𝐠𝐧 𝐠𝐢𝐯𝐞𝐬 𝐚 𝐜𝐥𝐞𝐚𝐧, 𝐟𝐥𝐨𝐚𝐭𝐢𝐧𝐠 𝐥𝐨𝐨𝐤 that works beautifully as home decor wall shelves in modern, farmhouse, rustic, or industrial decor styles. 𝐀𝐝𝐝𝐬 𝐰𝐚𝐫𝐦𝐭𝐡 𝐚𝐧𝐝 𝐬𝐭𝐲𝐥𝐞 without overwhelming your space — 𝐩𝐞𝐫𝐟𝐞𝐜𝐭 𝐟𝐨𝐫 𝐛𝐞𝐝𝐫𝐨𝐨𝐦 𝐝𝐞𝐜𝐨𝐫𝐚𝐭𝐢𝐨𝐧𝐬, 𝐟𝐚𝐫𝐦𝐡𝐨𝐮𝐬𝐞 𝐥𝐢𝐯𝐢𝐧𝐠 𝐫𝐨𝐨𝐦 𝐝𝐞𝐜𝐨𝐫, 𝐨𝐟𝐟𝐢𝐜𝐞 𝐰𝐚𝐥𝐥 𝐝𝐞𝐜𝐨𝐫, 𝐧𝐮𝐫𝐬𝐞𝐫𝐲, 𝐞𝐧𝐭𝐫𝐲𝐰𝐚𝐲, 𝐤𝐢𝐭𝐜𝐡𝐞𝐧, 𝐚𝐧𝐝 𝐦𝐨𝐫𝐞

𝐌𝐨𝐝𝐞𝐫𝐧 & 𝐌𝐢𝐧𝐢𝐦𝐚𝐥𝐢𝐬𝐭 𝐒𝐭𝐲𝐥𝐞 - Featuring clean lines and a rustic brown finish, these wall-mounted shelves bring warm farmhouse charm and modern style to any space. Perfect as shelves for room decoration, book shelves display, and rustic farmhouse wall decor — they elevate your bathroom wall art vibe, bedroom aesthetic, living room style, kitchen organization, office setup, and laundry room storage all in one versatile design

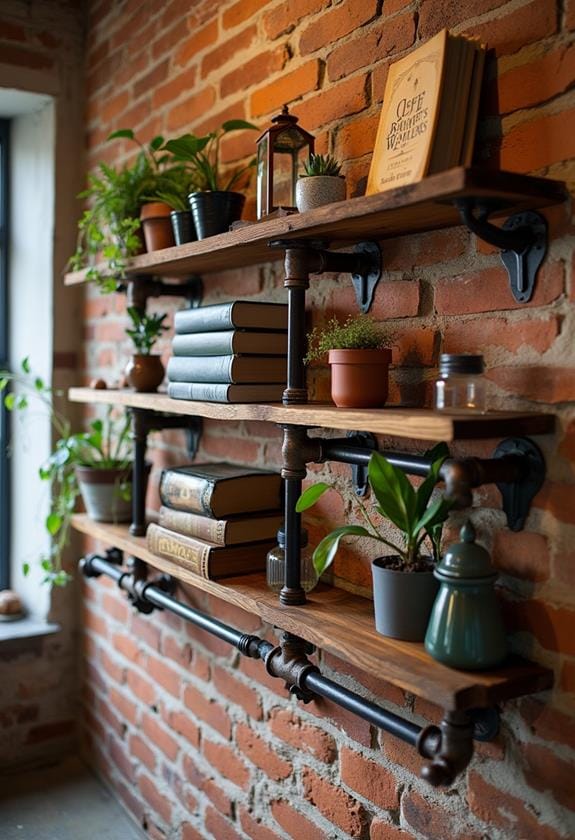
【Superior Quality & Sturdy Construction】- Compared to boards made from soft paulownia wood, our floating shelves are handcrafted from solid and long-lasting wood- which gives you a more comfy use for years to come. The metal guardrail is forged from the toughest steel and powder coated to prevent rust for a long period of use. More stable and robust construction are offered by WOPITUES floating shelves- each shelf is sturdy enough to hold 20 lbs with ease!
Safety Precautions and Tips
Safety should be your top priority when creating upcycled wall art from scrap materials. Always wear protective gear like gloves and safety glasses when handling sharp objects or using power tools. And don't forget a dust mask if you're sanding or cutting materials that create fine particles.
Be careful with chemicals, too. That old paint you found in the garage? It might contain lead or other nasties. Better safe than sorry – use eco-friendly options instead. Oh, and watch out for rusty nails or jagged edges on reclaimed wood. Nobody wants a tetanus shot as a DIY souvenir!
Lastly, make sure your masterpiece is securely mounted. You don't want your beautiful creation becoming an unintended floor sculpture, right? Double-check those anchors and use the right hardware for your wall type. Your art (and walls) will thank you.
Frequently Asked Questions
How Long Does It Typically Take to Complete an Upcycled Wall Art Project?
You know, the time it takes to create upcycled wall art really depends on your project's complexity and your DIY skills. A simple piece might only take an afternoon, while a more intricate design could keep you busy for weeks. It's all about finding that sweet spot between creativity and practicality. And let's be honest, sometimes you'll get so caught up in the fun of it, you'll lose track of time altogether! Just remember, it's not a race – enjoy the process.
Can Upcycled Wall Art Be Sold Commercially Without Legal Issues?
You're on the right track thinking about selling your upcycled art. Generally, you're in the clear to sell your creations. But hold your horses! There are a few things to take into account. Make sure you're not using copyrighted designs or logos. And if you're using found objects, be mindful of their origins. It's always a good idea to consult a local lawyer or small business advisor. They can help you navigate any potential legal hiccups. Ready to turn your passion into profit?
What's the Average Cost Savings of Upcycled Wall Art Versus Store-Bought Pieces?
You'll be amazed at the savings! Upcycled wall art can cost you next to nothing, while store-bought pieces might set you back $50 to $500. Imagine turning that old window frame into a stunning mirror for free, instead of shelling out $200 at the home decor store. And let's not forget the bragging rights! Your friends will be green with envy when you tell them you made that gorgeous piece yourself. Isn't it time you gave upcycling a try?
Are There Any Competitions or Exhibitions Specifically for Upcycled Wall Art?
Art shows focusing on upcycled creations are popping up everywhere. Have you heard of the "Trash to Treasure" exhibition in New York? It's a big deal for eco-artists. And don't forget local craft fairs – they often have upcycled categories now. Why not enter your own piece? It's a great way to showcase your creativity and maybe win a prize. Plus, you'll meet other upcycling enthusiasts. Who knows? You might find your new DIY bestie!
How Do I Incorporate Upcycled Wall Art Into Different Interior Design Styles?
You've got a million ways to make upcycled wall art work in any style! For a modern vibe, try sleek, geometric pieces made from old metal. Going rustic? Weathered wood pallets are your best friend. Feeling bohemian? Weave colorful fabric scraps into a dreamy tapestry. And for an industrial look, repurposed gears and pipes are perfect. But don't stop there! Mix and match to create your unique style. Remember, it's all about letting your personality shine through those rescued treasures.