Want to light up your space with some DIY flair? You've got options! Transform a mason jar into an industrial-chic pendant, or weave a boho basket into a warm, textured fixture. Feeling handy? Craft a sleek geometric design from copper pipes. For the eco-conscious, upcycle glass bottles into a stunning chandelier. And if you're into paper crafts, origami shades can create whimsical, shadowplay effects. These projects not only save you money but also add a personal touch to your decor. Plus, imagine the satisfaction of saying, "I made that!" Ready to roll up your sleeves and brighten your home?
Design Highlights
- Industrial Mason Jar Pendant combines rustic charm with urban chic, using a wide-mouth jar and vintage-style Edison bulb.
- Woven Basket Boho Light adds texture and warmth, featuring a painted interior and colorful yarn for added visual interest.
- Geometric Copper Pipe Fixture creates a sleek, modern design using basic plumbing materials assembled into unique shapes.
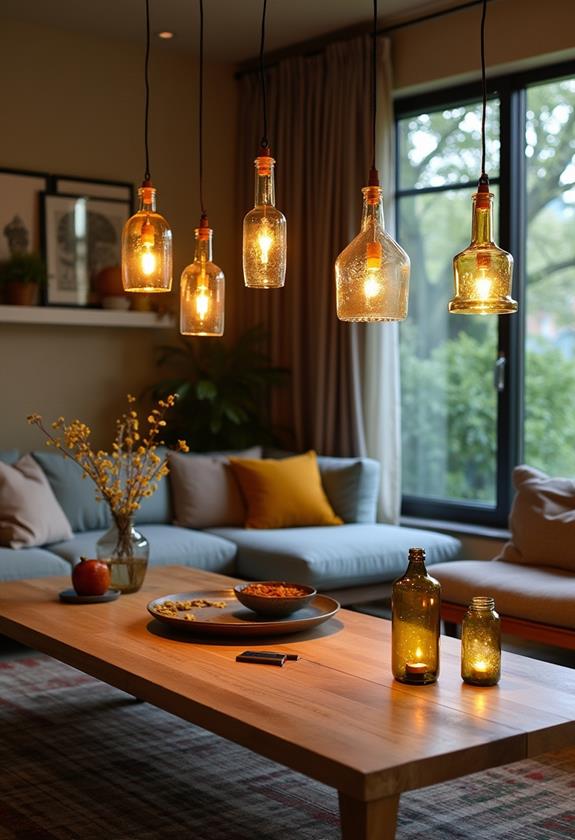
- Upcycled Glass Bottle Chandelier transforms empty bottles into an eco-friendly, customizable conversation piece.
- Origami Paper Shade Pendant offers a whimsical lighting option using folded paper techniques for beautiful diffused light.
Industrial Mason Jar Pendant

An industrial mason jar pendant light offers a rustic yet modern touch to any space. It's a perfect blend of farmhouse charm and urban chic. You'll love how easy it is to create, too! Start with a wide-mouth mason jar – the bigger, the better for that wow factor. Then, grab some industrial-style hardware like a metal pipe and flange. Ever wondered how to get that cool exposed bulb look? This is your chance!
Drill a hole in the jar lid, thread your wiring through, and attach the socket. Now, here's where you can get creative. Why not add a vintage-style Edison bulb for extra flair? Or maybe paint the jar for a pop of color? Remember, it's all about making it uniquely yours. Hang it over your kitchen island or in a cozy reading nook – you'll be amazed at the ambiance it creates!
Woven Basket Boho Light
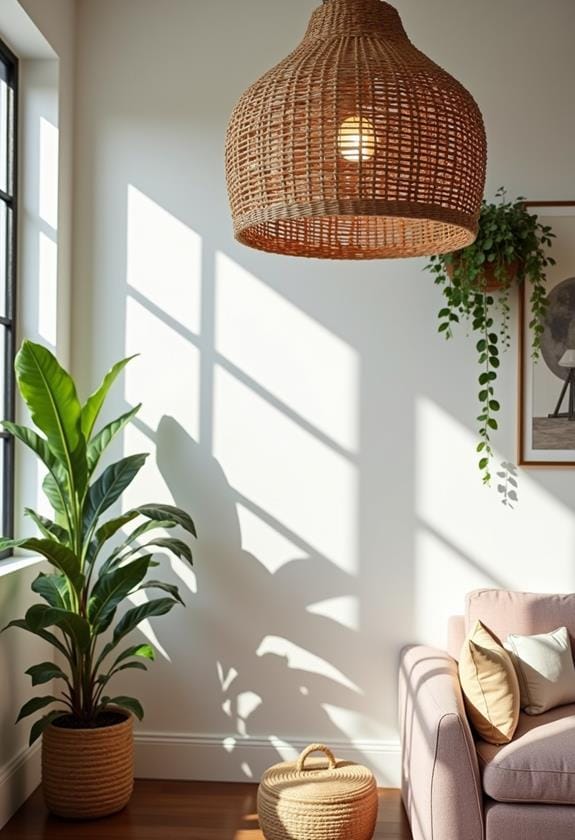
Boho chic meets DIY lighting with the woven basket pendant. It's a perfect way to add texture and warmth to your space. And guess what? You can make it yourself!
Start by finding a woven basket you love. The bigger, the bolder the statement. Remember, it doesn't have to be perfect – that's part of the charm. Now, cut out the bottom (carefully!) and thread your light cord through. Voila! You've got the basics down.
Want to amp it up? Try painting the inside of the basket gold for a subtle glow. Or weave colorful yarn through the basket for extra pizzazz. The possibilities are endless, really. Just imagine how cozy your reading nook will feel with this handmade beauty hanging overhead. Ready to give it a go?
Geometric Copper Pipe Fixture

Sleek and modern, a geometric copper pipe fixture adds an industrial edge to any room. You'll love how this DIY project transforms basic plumbing materials into a stunning centerpiece. Start by sketching your design – maybe a cube or pyramid shape? Then, grab some copper pipes and elbows from your local hardware store. Trust me, the staff there will become your new best friends!
Cutting and assembling the pipes can be tricky, but don't get discouraged. Remember when I accidentally glued my fingers together? Yeah, let's avoid that. Once you've got your shape, add a socket and bulb. The warm glow through copper is simply magical. And here's a pro tip: leave some of the pipe's natural patina for character. Your friends will be asking, "Where did you buy that?" Little do they know, you're the creative genius behind it!
Upcycled Glass Bottle Chandelier

Transform your space with a stunning upcycled glass bottle chandelier. It's a fantastic way to add personality and eco-friendly charm to your home. You'll love how the light dances through the bottles, creating a magical ambiance. And the best part? You can customize it to fit your style perfectly!
Ready to get started? Here's what you'll need:
- Empty glass bottles (wine bottles work great!)
- A round wooden base
- String lights or small bulbs
- Strong adhesive or wire
First, clean those bottles thoroughly. No one wants a chandelier that smells like last week's pinot noir! Then, arrange them on your wooden base. Play around with different heights and colors. Remember, imperfection is part of the charm. Secure the bottles, add your lights, and voila! You've got a conversation piece that'll make your guests say, "Wow, you made that?"
Origami Paper Shade Pendant
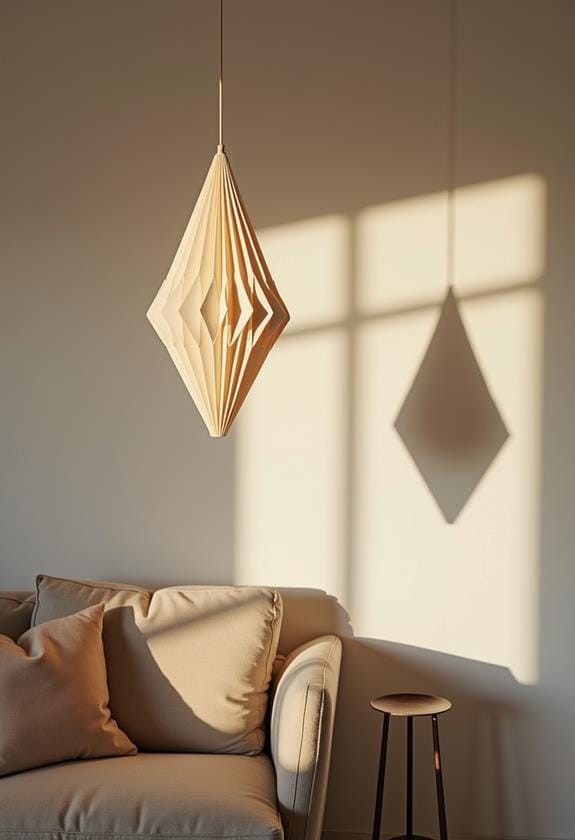
From bottles to paper, let's explore another creative lighting option. Ever thought about turning origami into a light fixture? Well, you can! An origami paper shade pendant is a fun way to add a touch of whimsy to any room. And the best part? You don't need to be a paper-folding expert to pull it off. DIY pendant designs can inspire unique and personalized lighting solutions for your space.
Start with a simple design, like a cube or diamond shape. Choose paper that complements your decor – think soft pastels for a nursery or bold patterns for a living room. As you fold, remember it's okay if it's not perfect. The charm is in the handmade look.
Once you've mastered the basics, why not try more complex designs? A lotus flower or geometric sphere can really wow your guests. Just imagine the soft, diffused light casting beautiful shadows around your space. It's like art and lighting rolled into one!
Frequently Asked Questions
What Safety Precautions Should I Take When Working With Electrical Components?
Like a tightrope walker without a safety net, working with electrical components can be thrilling yet risky. You'll want to play it safe, my friend. Always turn off the power at the breaker box before starting. Don't mess around with frayed wires or exposed connections. And hey, why not invest in some insulated tools? They're a DIYer's best friend. Remember, water and electricity don't mix, so keep your workspace dry. When in doubt, call a pro. Better safe than sorry, right?
How Do I Determine the Appropriate Wattage for My DIY Pendant Light?
Figuring out the right wattage for your DIY pendant light isn't rocket science, I promise! Start by considering the room's size and purpose. A cozy reading nook? Go for 40-60 watts. Bigger living room? You might need 75-100 watts. Don't forget to check your fixture's max wattage rating – safety first! And hey, why not use LED bulbs? They're energy-efficient and come in various "equivalent" wattages. Just remember, it's all about creating that perfect ambiance. Experiment a bit!
Can I Use LED Bulbs in These Homemade Pendant Light Designs?
You can definitely use LED bulbs in your homemade pendant lights. They're a fantastic choice, actually. LED bulbs run cooler, last longer, and use less energy than traditional bulbs. Plus, they come in all sorts of colors and temperatures. Want a warm, cozy glow? Go for a soft white LED. Prefer a bright, crisp light for your kitchen island? Try a cool white. And here's a bonus: LEDs are often smaller, giving you more design flexibility. Win-win!
What Tools Are Essential for Creating Custom Pendant Lights at Home?
Just as a painter needs brushes and canvas, you'll need some key tools for your pendant light journey. You'll want wire cutters, pliers, and a drill – they're your trusty sidekicks. Don't forget a good set of screwdrivers and a wire stripper. And hey, why not grab some safety gear? Goggles and gloves are a must. Remember that measuring tape? It'll be your best friend. Oh, and a voltage tester – because who doesn't love a little electrical excitement?
How Do I Ensure My DIY Pendant Light Is Securely Mounted to the Ceiling?
Worried about your DIY pendant light falling? No sweat! Start by choosing a sturdy electrical box rated for hanging fixtures. You'll want to secure it to a ceiling joist or use a brace between joists. Don't skimp on the mounting hardware – go for heavy-duty screws or bolts. And hey, why not test it out? Hang a weight from your fixture for a day or two. Peace of mind is worth the extra effort, right? Remember, safety first when playing electrician!

