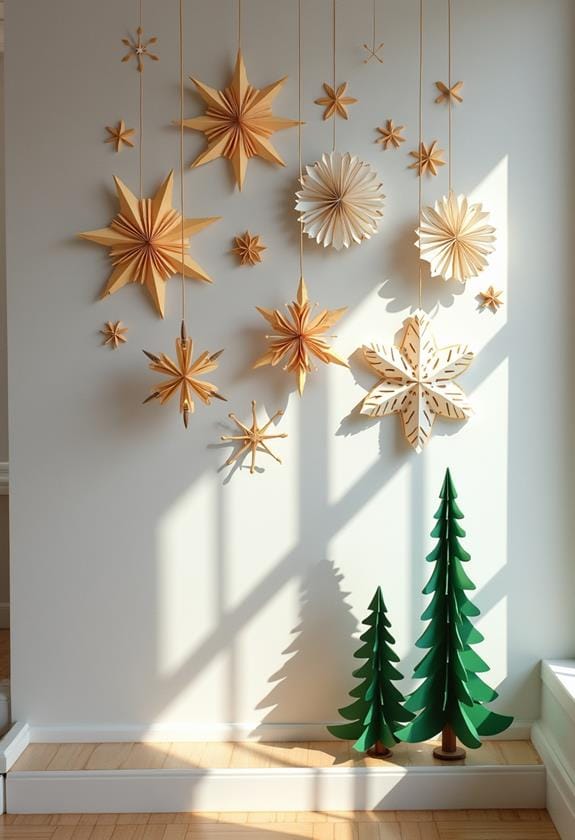
Ready to transform your walls into a winter wonderland? Let's plunge into 10 easy steps for crafting homemade paper Christmas decor! You'll start by gathering supplies like colorful paper, scissors, and glue. Next, choose your favorite designs – snowflakes, stars, or trees? Get creative! Cut out your shapes, then assemble them into stunning 3D displays or garlands. Don't forget to add some sparkle with glitter or metallic accents. Hang your creations using removable adhesive for easy cleanup. Want to involve the kids? Try a paper chain countdown or an interactive advent calendar. Your walls will be bursting with festive cheer in no time! Curious about more DIY ideas?
Design Highlights
- Choose a festive theme and color scheme for your paper Christmas wall decor.
- Gather necessary materials like colored paper, scissors, glue, and string.
- Create a variety of paper elements such as snowflakes, stars, or geometric shapes.
- Arrange and layer your paper creations to form a cohesive design on the wall.
- Add finishing touches like glitter, lights, or 3D elements to enhance the overall effect.
Paper Snowflake Curtain
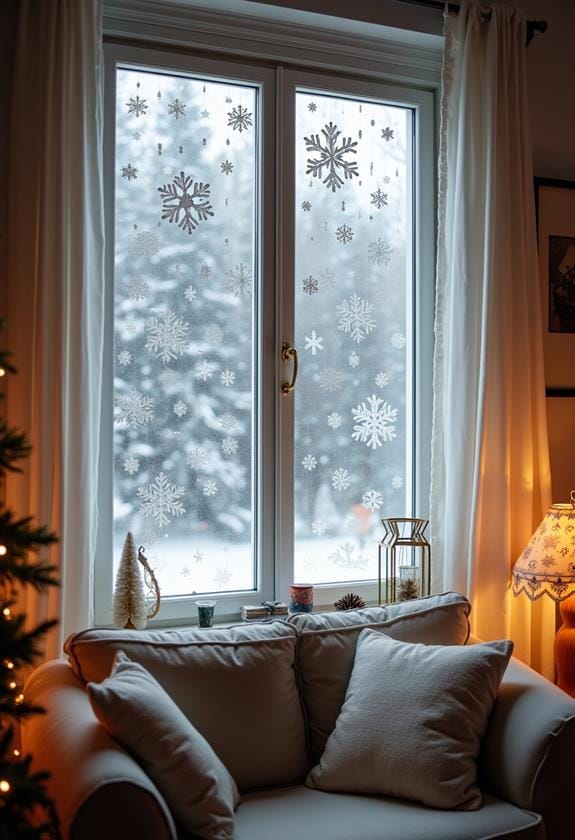
As winter approaches, transform your home with a magical paper snowflake curtain. It's easier than you think! Start by gathering white paper, scissors, and string. Remember those childhood days of snipping intricate patterns? Well, it's time to relive them. Cut out a variety of snowflake designs, each one unique like nature intended. Don't worry if they're not perfect – that's part of their charm. This festive DIY project is a perfect way to add a personal touch to your bedroom decor during the holiday season.
Once you've got a pile of snowflakes, it's time to string them together. Thread them carefully, spacing them out for a dreamy effect. Hang your creation in a window or doorway, and watch as the light filters through, casting enchanting shadows. Imagine sipping hot cocoa while admiring your handiwork. Doesn't that sound cozy? This simple project adds a touch of whimsy to any room, turning your space into a winter wonderland.
3D Christmas Tree Wall Art
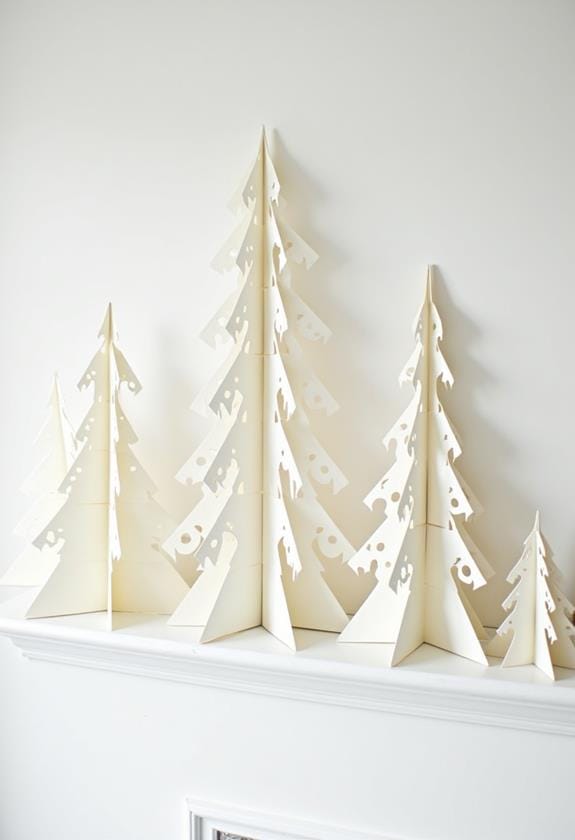
Bring the holiday spirit right onto your walls with 3D Christmas tree wall art. It's a festive way to deck your halls without taking up floor space. You'll love how this project transforms a blank wall into a winter wonderland. Transform your home with this eye-catching DIY decor that adds a unique touch to your indoor Christmas decorations.
Start by cutting various sizes of triangles from green cardstock. Fold them in half to create a 3D effect. Next, arrange these trees on your wall, starting with larger ones at the bottom and getting smaller as you go up. Use removable adhesive to stick them in place. Want to add some sparkle? Sprinkle in some paper snowflakes or stars between the trees. And don't forget a tree topper! A golden star cut-out would look perfect. This DIY decor is sure to impress your guests and bring a smile to your face all season long.
Products Worth Considering

COMPLETE DIY CHRISTMAS KIT: This diy set includes a pre-framed printed canvas, assorted pearl beads, applicator pen, wax, tray, and instructions. These pearl art kits for adults provide the essentials needed to create festive holiday artwork.

Complete Framed Kit: This DIY Christmas Pearl Diamond Painting Art Kit With Frame includes a pre framed symbol canvas matching pearl beads wax applicator pen tray and essential tools for completing a festive project at home The organized components make Christmas pearl diamond art easy to start and suitable for seasonal craft sessions

3D Pearl Texture: Mixed-Size Pearl Beads and Special-Shaped Rhinestones Create Raised Details and Sparkling Dimension, Giving This Christmas Pearl Painting a Richer Look Than Flat Printed Ornaments.
Origami Star Garland
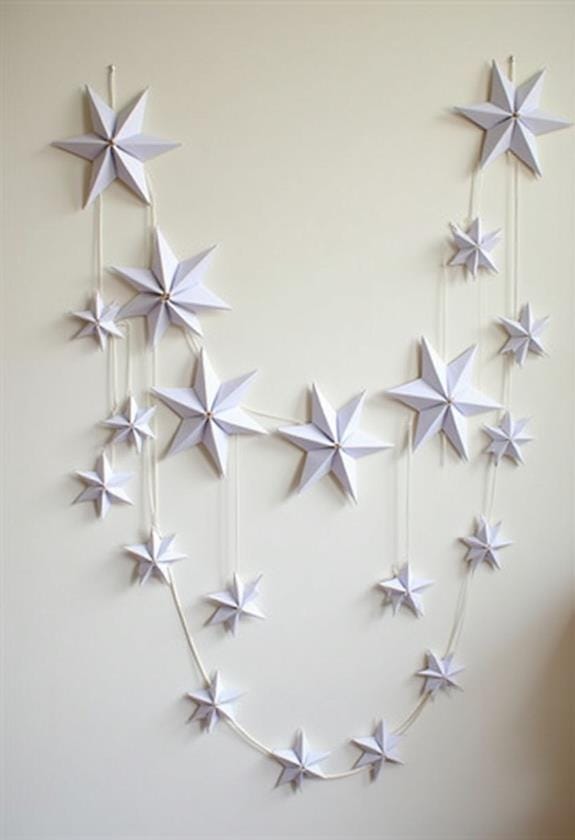
Occasionally, the simplest decorations make the biggest impact. Origami star garlands are a perfect example of this. They're elegant, eye-catching, and surprisingly easy to make. You'll love how they transform your space with a touch of whimsy and festive cheer. Unique paper crafts can add a personal touch to your holiday decor, making your home feel warm and inviting.
To create your own star garland, you'll need:
- Origami paper in festive colors
- Thin string or fishing line
- Scissors
- A needle (optional)
Start by folding your stars. Don't worry if you're not an origami expert – there are plenty of simple tutorials online. Once you've got a collection of stars, it's time to string them together. Thread them carefully, spacing them out as you see fit. Hang your finished garland across windows, along mantels, or drape it on your Christmas tree. It's amazing how such a delicate creation can add so much character to your holiday decor.
Paper Wreath With Festive Shapes
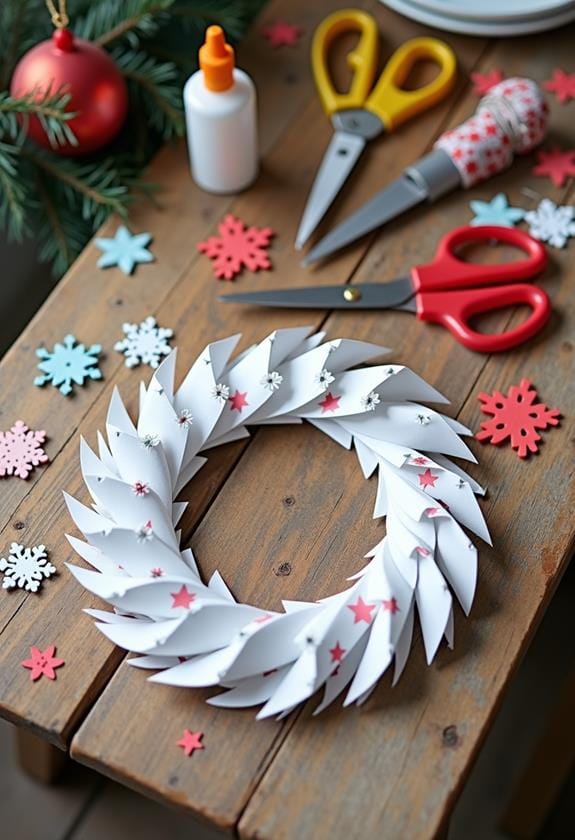
Moving from the delicate stars to a more substantial decoration, paper wreaths with festive shapes offer a bold and eye-catching alternative. You'll love how these wreaths can instantly transform your walls! Start by choosing a wreath base – cardboard works great. Then, let your creativity run wild! Cut out holiday shapes like snowflakes, bells, or little trees from colorful paper. Remember those paper snowflakes you made as a kid? They're perfect for this! These DIY Christmas decorations can truly transform your office space, adding a personal touch to your work environment.
Arrange your shapes around the wreath, layering them for depth. Don't worry if it's not perfect – that's part of the charm! Add a dash of glitter or some ribbon for extra sparkle. Hang it on your wall, and voila! You've got a unique, festive piece that'll have everyone asking, "Where'd you get that?" Your little secret? It's all you, armed with paper and imagination!
Hanging Paper Advent Calendar
A hanging paper advent calendar brings a daily dose of excitement to your Christmas countdown. It's a fun project that'll keep you and the kids busy on a chilly afternoon. Plus, it's a great way to personalize your holiday decor. Ever thought about making one with recycled materials? It's eco-friendly and budget-friendly! While this project is perfect for indoor spaces, you can also consider fall balcony decor ideas to extend the festive spirit outdoors.
Here's what you'll need:
- Colorful paper or cardstock
- String or ribbon
- Small clothespins
- Scissors and glue
Start by cutting 24 small envelopes or pockets. Decorate each one with festive designs or numbers. Then, hang them in rows on a long ribbon. Fill each pocket with tiny treats or festive notes. Voila! You've got a charming, homemade advent calendar that'll make December mornings extra special. And who knows? It might just become your family's new favorite tradition.
Products Worth Considering

Curate your own unique Christmas lead‑up tradition with this hands‑on advent calendar kit. Inside you will receive 24 foldable empty gift boxes across 11 unique sizes, paired with a complete set of number stickers marked 1‑24. Please note a gift bag is not included. Fill each compartment with candies, miniature toys, jewelry, trinkets or hand‑picked small gifts to delight kids, family members and friends day by day.


Geometric Paper Ornament Display
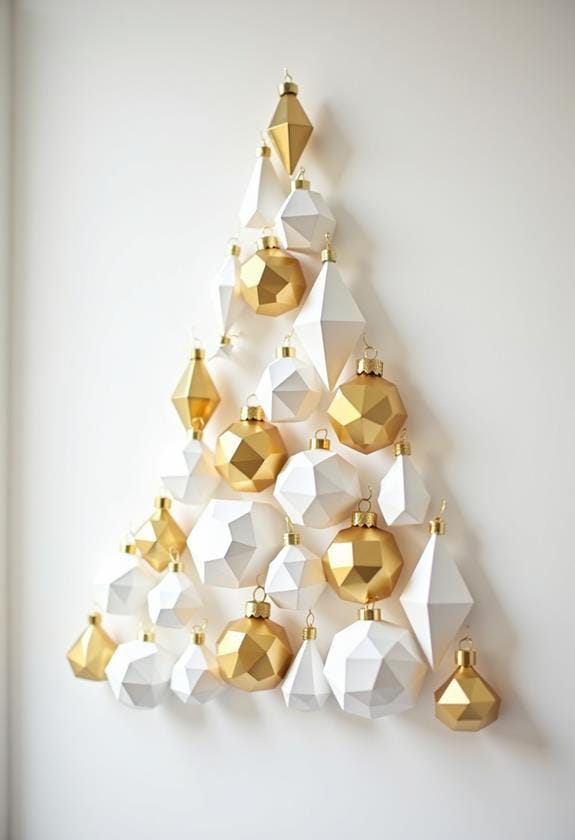
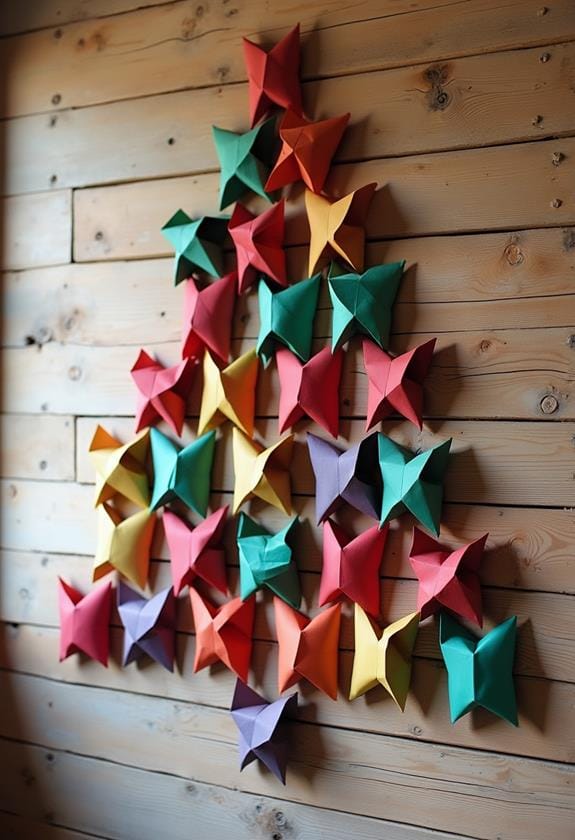
Geometric paper ornaments create a striking wall display that adds a modern touch to your Christmas decor. Ever tried folding origami stars? They're perfect for this! Start by choosing a color scheme – maybe crisp white and gold for a chic look, or bold red and green for traditional vibes. You'll need some patience, but trust me, it's worth it.
Arrange your creations on a blank wall, playing with different shapes and sizes. How about a tree-like formation? Or a cascading waterfall effect? The possibilities are endless! And here's a pro tip: use removable adhesive to stick them up. That way, you can easily rearrange if inspiration strikes.
Don't forget to mix in some 3D elements. Paper balls or honeycomb decorations can add depth and interest. Ready to get crafty?
Products Worth Considering

STAR ORIGAMI PAPER: These paper star strips are crafted from high-quality thickened log pulp, resulting in a paper that is not only thick a Ind durable but also possesses a unique texture that perfectly complements the intricate folds of star paper. Star paper strips available in 27 vibrant colors, there are 2060 sheets, each measuring 8.5in/21.6cm (L) x 0.4in/1cm (W)

【PACKAGE INCLUDED】:1080 sheets origami stars paper in 10 different beautiful colors for paper arts crafts kids. You can fold total 1080 paper star strips. Perfect for any DIY project, holiday decorations, school teaching, have fun with your origami talents.
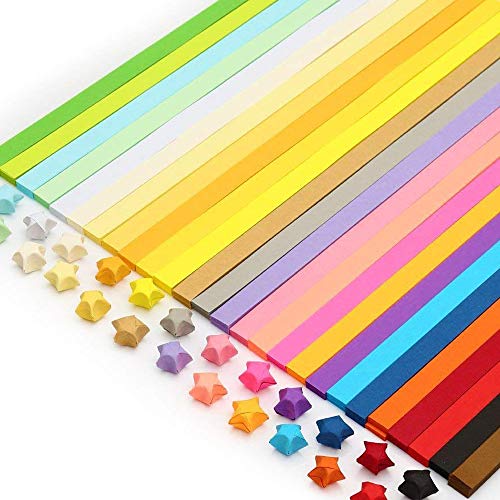
Size: 1*25cm. Material: Paper. Quantity: 1030 sheets.
Festive Photo Frame Collage
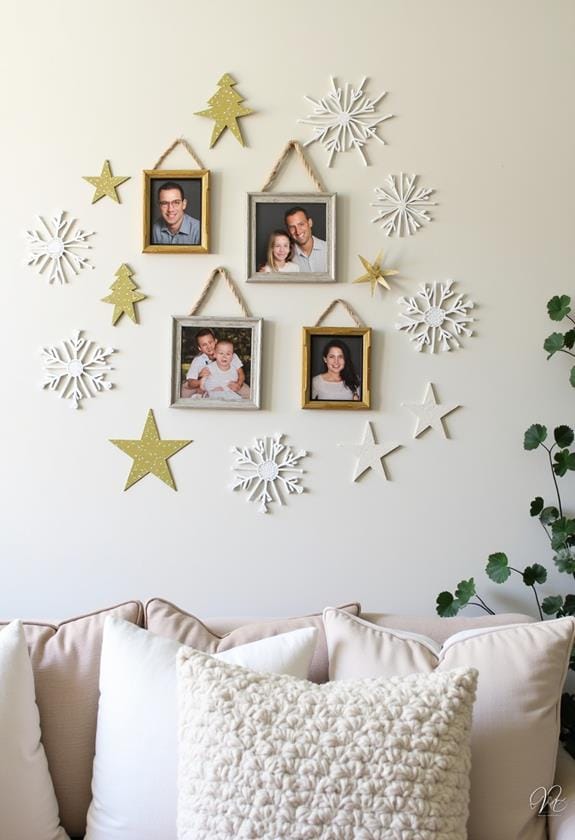
Create a heartwarming display of memories with a festive photo frame collage. This DIY project lets you showcase cherished moments while adding a personal touch to your holiday decor. Start by gathering your favorite family photos and some colorful scrapbook paper. You'll be amazed at how quickly this project comes together!
- Arrange frames in a tree shape
- Use paper snowflakes as accents
- Add twinkling fairy lights
- Incorporate holiday-themed scrapbook elements
Now, isn't that a fun way to spruce up your walls? Simply cut your photos to fit various sized frames, then arrange them in a tree formation. Feeling creative? Why not use washi tape to stick the photos directly to the wall? And don't forget to add some sparkle with glitter-edged frames or shimmering ribbon. Before you know it, you'll have a stunning focal point that's sure to spark joy and conversation at your next holiday gathering.
Paper Chain Christmas Countdown
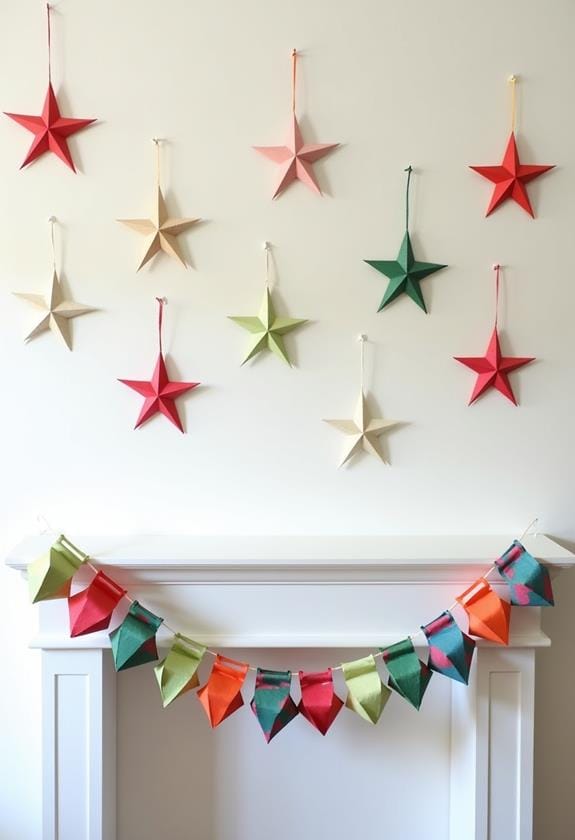
Excitement builds as you craft a colorful paper chain countdown to Christmas. It's a classic DIY project that'll bring a festive touch to any wall. You'll need colorful paper strips, scissors, and glue or staples. Why not get creative with patterns or glitter paper for extra sparkle?
Start by deciding how many days you want to count down. Then, loop and link your paper strips together, creating a chain that's as long as your countdown. Hang it vertically or drape it across your wall like a garland. Each day, snip off a link and watch as Christmas draws nearer!
Kids love this interactive decor, and it's a great way to build anticipation. Plus, it's budget-friendly and eco-conscious. Remember, the best part is customizing it to your style. Feeling nostalgic? Use old Christmas cards to make your chain links.
Products Worth Considering
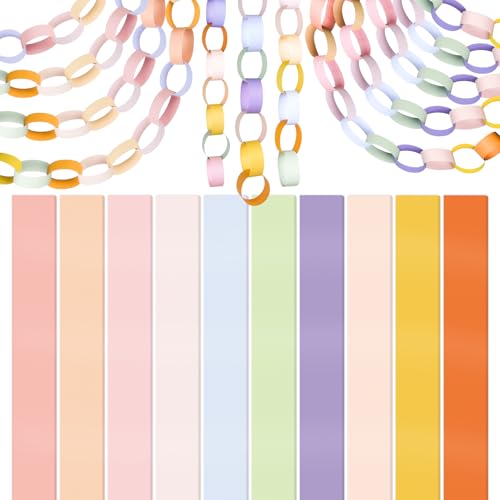
600 Pieces of bright paper strips kit, with approx 102ft total length, ideal for home/ party and classroom decorations

Ample Quantity: the set includes 500 paper chain garland in 10 different colors (50 bracelets of each color), 5 shimmering mirror star banners, and 3 rolls of double-sided tape; With ample quantity and colors, you can easily create various handicrafts to suit your decorative needs

Package Includes - Contains 600 pieces craft paper chains in 10 different styles, you can make a paper chain approx. 59ft long/ 18 meters
Quilled Snowman Wall Hanging
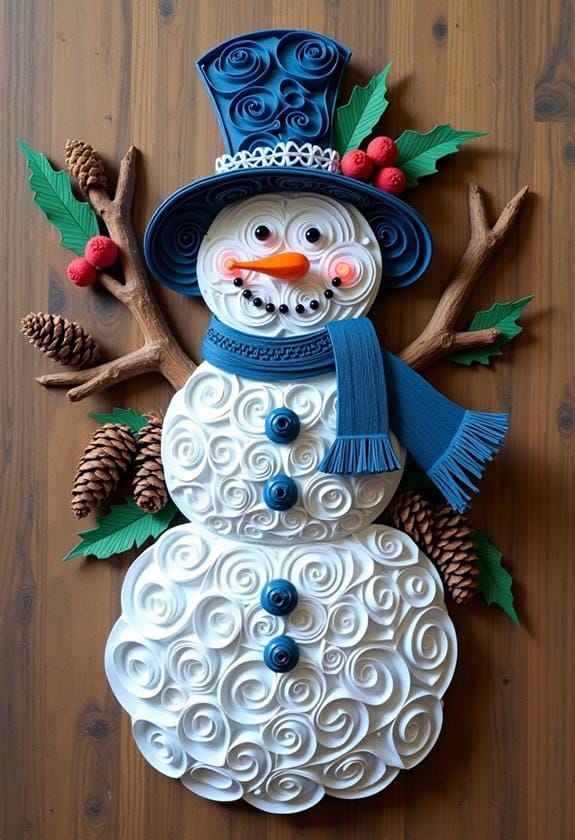
While paper quilling might seem challenging at first, it's a perfect technique for crafting a charming snowman wall hanging. You'll be amazed at how simple strips of paper can transform into a delightful winter scene. And trust me, once you get the hang of it, you'll be quilling everything in sight!
Here's what you'll need:
- White and colored quilling paper
- Quilling tool or toothpick
- Glue
- Cardstock backdrop
Start by rolling tight coils for the snowman's body, then shape them into circles. Add a carrot nose and coal eyes – maybe even a jaunty hat! Don't forget some twiggy arms and a festive scarf. Arrange your quilled pieces on the cardstock, playing with the layout until it feels just right. Once you're happy, glue everything down. Voila! You've got yourself a unique, handmade snowman to brighten up your walls.
Products Worth Considering

Rich Material Set: Includes 20 blank greeting cards, 640 pieces of 6-colour paper to meet various creative needs. Includes envelopes, copy paper, paper pens, ruler, tweezers and other tools, easy to create beautiful Christmas-themed greeting cards

【High Quality】This quilling slotted tool paper rolling set is made of premium PVC, plastic and stainless steel, which is durable and well made. The slotting depth and length of these quilling needle pens are suitable for paper of various thicknesses and sizes. Various sizes allow you to do more high quality paper flower work

30 Colors, 600 Paper Strips: Includes 6 coordinated color series, with 5 colors and 100 strips per series. All are 39 cm (15.35 in) long and approx. 120 GSM
Papercraft Winter Village Scene
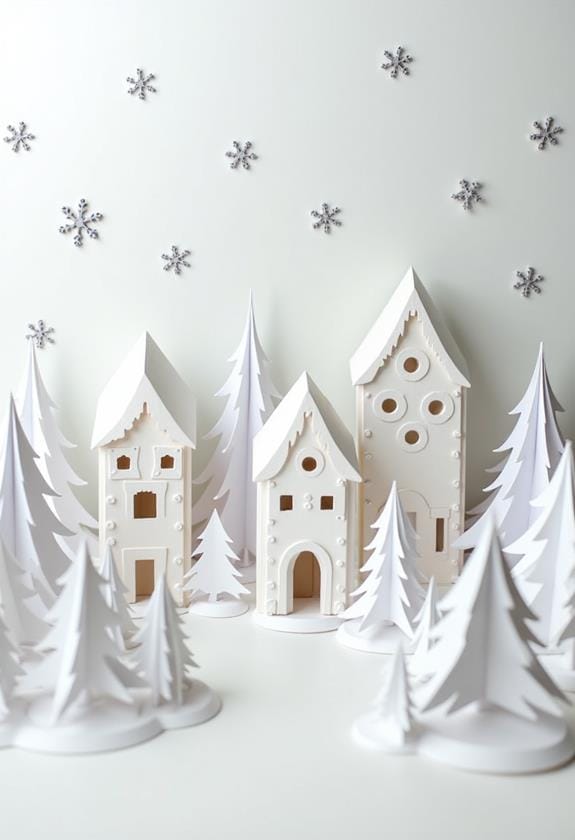
From individual snowmen, let's expand our paper crafting to an entire winter wonderland. Envision this: a charming village scene on your wall, complete with tiny houses, snow-capped trees, and maybe even a miniature ice-skating rink. Sounds magical, right?
Start by sketching your village layout on a large piece of cardboard. Then, get creative with different shades of white and blue paper to craft your buildings. Don't forget those twinkling lights in the windows! For trees, layer various green shapes and add a dusting of "snow" with cotton balls or glitter.
Want to add some life to your scene? Cut out tiny paper people or animals. And here's a fun twist: why not personalize a few buildings to represent your family members' homes? Your papercraft village will be a unique conversation starter at your next holiday gathering.
Frequently Asked Questions
What Tools Are Essential for Creating Paper Christmas Wall Decorations?
Ready to deck your walls with festive cheer? You'll need some trusty tools in your crafting arsenal. Grab a pair of sharp scissors for precise cuts, and don't forget a sturdy ruler for those straight lines. A pencil's a must for sketching designs, while a craft knife helps with intricate details. And hey, why not jazz things up with a hole punch for snowflake patterns? Oh, and glue sticks or double-sided tape will be your best friends for assembling your paper masterpieces.
How Can I Make My Paper Decorations More Durable for Long-Term Use?
Want your paper decorations to last? You've got options! Try sealing them with a clear spray or Mod Podge for extra durability. Or, get crafty and laminate your pieces – it's like giving them a protective shield. For a sturdier base, consider mounting them on cardboard or thin wood. And hey, why not store them carefully in acid-free tissue paper when the season's over? With a little TLC, your festive creations can become cherished keepsakes year after year.
Are There Eco-Friendly Alternatives to Traditional Paper for These Crafts?
You'll be amazed at the eco-friendly alternatives to traditional paper! Imagine crafting with materials Mother Nature herself would high-five you for. Try banana leaves for a tropical twist, or salvaged book pages for a literary vibe. How about pressed flowers? They're nature's confetti! And don't forget about fabric scraps – your old t-shirts could become stunning wall art. Feeling adventurous? Experiment with dried seaweed or autumn leaves. Who knew being green could look so festive? Your walls will thank you!
What Lighting Techniques Enhance Paper Christmas Wall Decorations?
You know, lighting can really make your paper Christmas decorations pop! Try using warm white fairy lights behind your paper cutouts for a soft, magical glow. Or, how about some battery-operated tea lights to cast dancing shadows? LED strips can add a modern touch, while a strategically placed spotlight can create dramatic effects. And don't forget about natural light – hanging your paper decorations near a window can make them sparkle during the day. Experimenting's half the fun, right?
How Do I Safely Hang Paper Decorations Without Damaging Walls?
Ready to deck your halls without dinging your walls? Don't fret! You've got options. Try removable adhesive hooks or strips – they're a lifesaver for renters like me. Washi tape's another fun choice; it's gentle on walls and comes in festive patterns. For lightweight decorations, a dab of poster putty works wonders. And hey, why not get creative? String a garland across your curtain rod or drape it over picture frames. Your walls will thank you come January!